


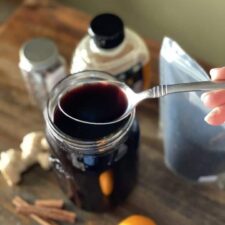
Keep this homemade instant pot elderberry syrup on hand all year long to help decrease cold and flu symptoms and keep your immune system strong! Don't have an instant pot? This recipe works in any pressure cooker and stove top directions are included too!
Is it just me or is getting sick even worse this year than any other year? One fever or cough and the whole family has to quarantine (thanks Covid!).
It's so important to do all we can to keep our immune system (and our family's!) in tip top shape, and I've had a secret weapon this year to help keep us mostly healthy this winter.
Mother nature has a few tricks up her sleeves and Elderberry is one herb that has gotten a lot of attention (for good reason) as a cold and flu fighter.
This instant pot elderberry syrup recipe is a simple way to keep the powerful benefits of the elderberry plant on hand all year, ready for action at the first sign of illness.
This Post may contain affiliate links. To learn more, visit my privacy/disclosure page.
POTENTIAL HEALTH BENEFITS OF ELDERBERRY
While there are no FDA approved uses for elderberry as a medicine, there have been several studies done that show a lot of promise for elderberry’s effectiveness at shortening cold and flu symptoms as well as decreasing the severity of those symptoms.
Based on in vitro and human studies, the properties and potential benefits of elderberry include:
- Significantly reducing cold and flu duration and symptoms.
- Stimulating the immune system to fight viral infections.
- High levels of antioxidants.
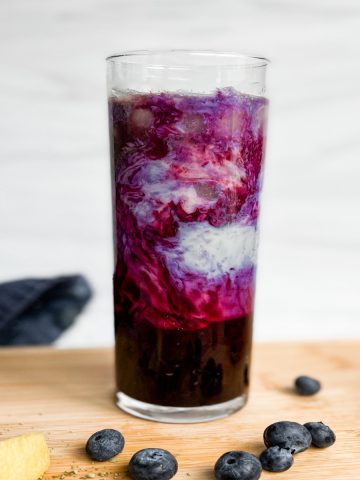
- High levels of anthocyanins (what causes the deep purple color) which may have a protective effect against cardiovascular disease, visual health problems, and cancer.
With several potential benefits and very limited adverse effects (be sure to read below who should NOT take elderberry) having a batch of elderberry syrup in your cold and flu survival kit is a must!
HOW TO MAKE HOMEMADE ELDERBERRY SYRUP
Making elderberry syrup at home is easy and contains ingredients that you likely already have in your kitchen, besides the dried elderberries. But don't worry, you can easily find them online or at a local herb shop.
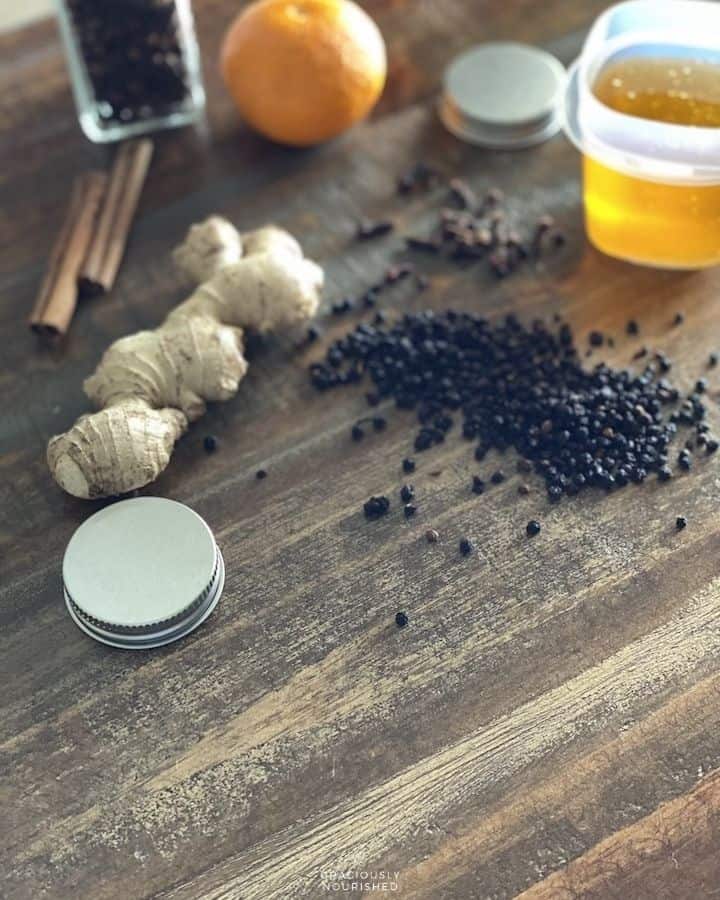
INGREDIENTS
- Dried elderberries (affiliate link)
- 1 small orange
- Cinnamon sticks
- Ginger
- Whole cloves
- Honey
MAKING INSTANT POT ELDERBERRY SYRUP
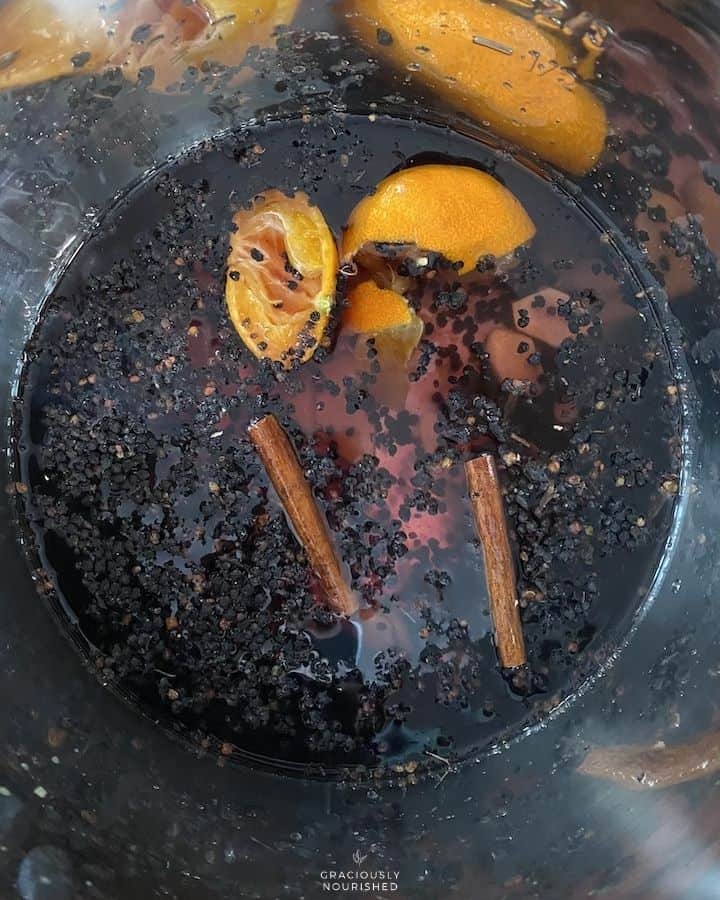
- Add all of the ingredients (except for the honey) into the instant pot along with 4 cups of filtered water. Slice the orange in half, squeeze out the juice and toss the whole thing in. Peel and slice the ginger root.
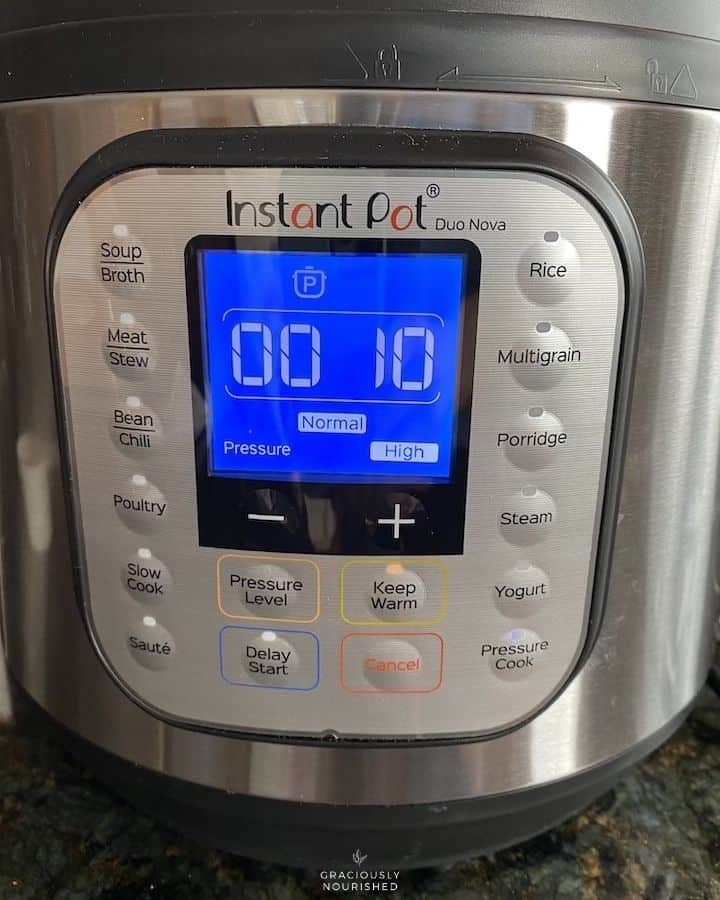
- Close the instant pot, making sure that the pressure valve is closed. Set the pressure to High Pressure for 10 minutes.
- Once the timer goes off, let the pressure naturally release for 10 minutes. Carefully release the pressure and remove the lid.
- Let the elderberry juice cool slightly before handling.
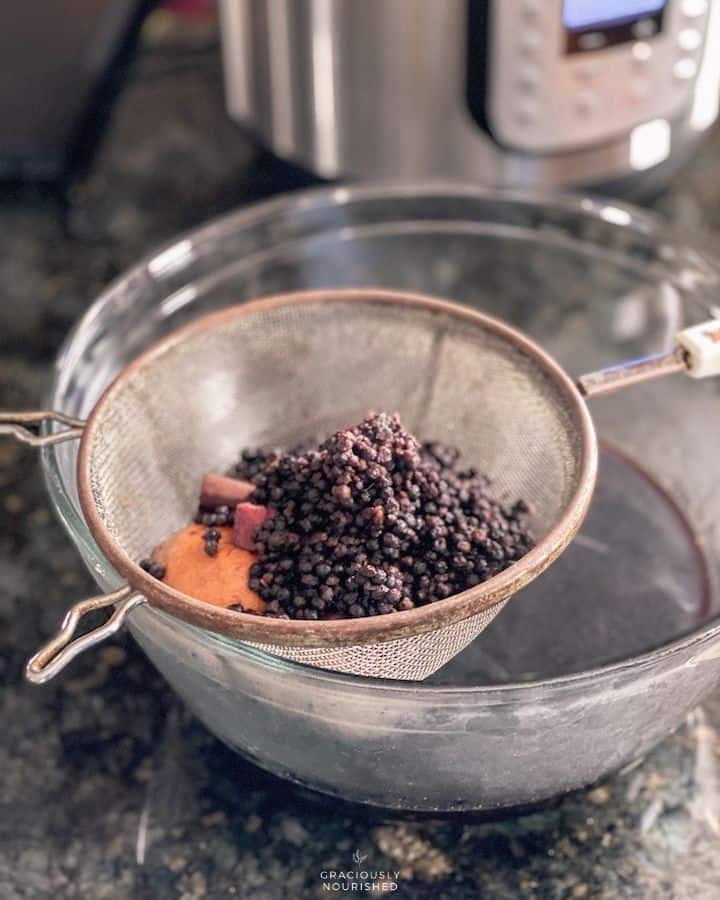
- Once the juice has cooled enough to handle- about 5-10 minutes, strain the juice through a fine mesh strainer or with a cheesecloth. Be sure to press the ingredients well to extract all of the juice!
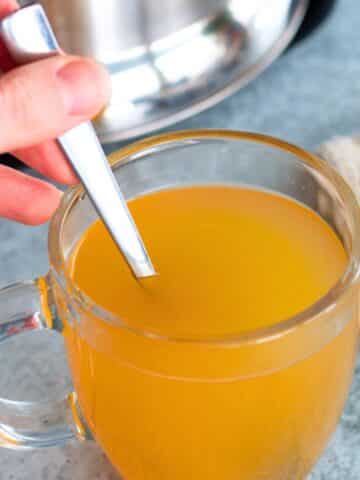
- Once the temperature reaches 100 degrees or under, add in the honey. If using raw honey, you want to avoid adding honey to juice that is over 100 degrees as you risk losing the healthy and important enzymes, vitamins and minerals found in raw honey. Stir well until the honey is dissolved.
- Store your elderberry syrup in a glass jar or bottle in the refrigerator for up to 2 months.
How to Make Elderberry Syrup on the Stove
- Add all of the ingredients (except for the honey) into a small pot. Cut the orange in half and squeeze out the juice, adding the rind into the pot as well. Then add 4 cups of filtered water. Bring to a boil.
- Turn down the heat, cover, and allow the mixture to simmer for 45-60 minutes or until the liquid has reduced by half.
- Turn off the heat and pour the mixture through a mesh strainer (or squeeze with cheesecloth) to separate the solids from the juices. Press down on the berries to extract as much juice as you can!
- Once the juice has cooled to less than 100 degrees, add the honey and stir until it is dissolved.
- Store your elderberry syrup in a glass jar or bottle in the refrigerator for up to 2 months.
ARE THERE ANY SAFETY CONCERNS WITH ELDERBERRY?
There are some things to be aware of when it comes to elderberries and safety. As with any natural remedy, if it is strong enough to provide benefits, it can be strong enough to cause harm if taken incorrectly!
Parts of the elderberry plant are poisonous. The bark, leaves, roots, and seeds, as well as unripe berries have a toxic component that produces the chemical cyanide. Overconsumption can cause nausea, diarrhea, and depression of the nervous system. While fresh berries are not harmful, overconsumption can cause ill effects as the chemical is still present in small amounts in the seeds.
Cooking or heating the berries deactivates this compound, making them safe for consumption in more concentrated amounts.
WHO SHOULD NOT TAKE ELDERBERRY SYRUP
Elderberry’s method of action to fight cold and flu symptoms is immune stimulation. If you have an autoimmune disease or take immunosuppressants, you will want to talk with your doctor before taking anything containing elderberry.
Infants under ONE should not take elderberry syrup as it contains honey. Honey can contain botulism spores, putting infants at risk for contracting botulism, which can be life threatening.
HOW TO USE ELDERBERRY SYRUP
Since elderberry is not FDA approved for treatment of disease, there are no regulated amounts for dosing. However, several sources recommend similar dosing for the syrup:
FOR DAILY MAINTENANCE
- Adults: 1 tablespoon daily
- Children: 1 teaspoon daily
You can also use this syrup to flavor your oatmeal, yogurt, and as a topping for ice cream for a delicious way to include it in your daily diet!
AT THE FIRST SIGN OF COLD/FLU SYMPTOMS
- Adults: 1 tablespoon 4-6 times daily
- Children: 1 teaspoon up to 4 times daily
HOW LONG DOES HOMEMADE ELDERBERRY SYRUP LAST?
I would recommend consuming within 2 months. Just over 3 months I started to see mold in my test bottle. If you wanted a longer shelf life you could add more honey or sugar to increase stability.
📖 Recipe
Instant Pot Elderberry Syrup
Ingredients
- 4 cups water
- ⅔ cups dried elderberries
- 2 cinnamon sticks
- 1 small orange
- 1 tablespoon dried cloves approx 10
- 1 inch ginger root peeled and sliced
- 1 cup raw honey
Instructions
- Slice the orange in half, squeeze out the juice and toss the whole thing into the pot. Peel and slice the ginger root and add that too.
- Add all of the remaining ingredients except for the honey (cinnamon sticks, clove, and elderberries) into the instant pot along with 4 cups of filtered water.
- Close the instant pot, making sure that the pressure valve is closed. Set the pressure to High Pressure for 10 minutes.
- Once the timer goes off, let the pressure naturally release for 10 minutes. Carefully release the pressure and remove the lid.
- Let the elderberry juice cool slightly before handling. Once the juice has cooled enough to handle- about 5-10 minutes, strain the juice through a fine mesh strainer or with a cheesecloth. Be sure to press the ingredients well to extract all of the juice!
- Once the temperature reaches 100 degrees or under, add in the honey. If using raw honey, you want to avoid adding honey to juice that is over 100 degrees as you risk losing the healthy and important enzymes, vitamins and minerals found in raw honey. Stir well until the honey is dissolved.
- Store your elderberry syrup in a glass jar or bottle in the refrigerator for up to 2 months.
Notes
Nutrition
As always, remember that I am a dietitian, but I am not your dietitian. I am not a medical doctor and the use of any herbal supplement or remedy should be done only after consulting with your medical doctor.`
WANT TO TRY ELDERBERRY SYRUP WITHOUT MAKING IT?
While I think making your own herbal remedies is a great way to control ingredient quality, I understand that not all of us have the time or desire to make these products ourselves. Elderberry supplements (affiliate link) are widely available to purchase.

Traci Lessman says
Add the juice from the orange also? or just squeeze juice out and only add orange peel?
Kelsey says
You'll use the whole orange. I realize now that it's written a little oddly- but I squeeze the juice into the pot and add the remaining orange to the pot too!